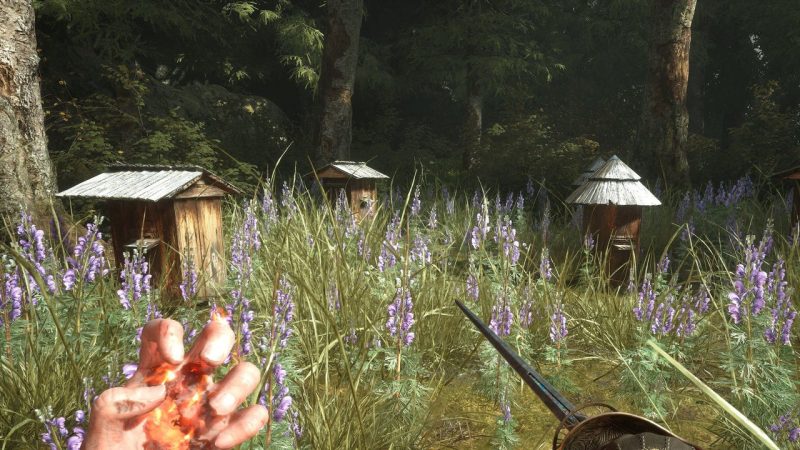
The Deserter quest in Valor Mortis is found on a note that occurs after reaching the Under the Bridge lantern. In this quest, you'll need to find some beehives scattered around the area and interact with the right ones to obtain unique items. Below, we'll fill you in on the locations of all the beehives and more so that you can complete The Deserter before wrapping up the Vale of Wrath chapter. You'll also find the In the Name of Art quest in the nearby area. How to complete The Deserter side quest in Valor Mortis (Image credit: Lyrical Games) Continue forward from the shack where you picked up the note to begin the quest. When given the choice between staying straight or taking a path to the left, stay straight. Eventually, you'll find a grapple point leading to a challenging foe outside of a hut. (Image credit: Lyrical Games) Defeat the enemy to be rewarded with the Beekeeper's Hut Key. The hut is directly behind where you fight the enemy, so use the key to open the door. (Image credit: Lyrical Games) Inside, interact with the paper on the desk to move the quest forward. Head back outside the hut, then check near one of the beehives for a piece of paper mentioning that the most dangerous hives have been marked with a red X. Avoid interacting with any of the hives except the one furthest away from the hut. Interact with this one beehive to get an Anubis Figurine Part. Valor Mortis tips - get the best start The best skills in Valor Mortis - what's the best stuff to start with? Till Death walkthrough - where's that red ribbon? Valor Mortis Laudanum walkthrough - find that bottle The Lost Boy walkthrough - locate the missing person (Image credit: Lyrical Games) You'll need two more of these Anubis Figurine Parts, both found at additional beehives in the general area. The second set of hives can be found a bit further down the main path of this area. Look for dead horses by a carriage right before the tall, wooden encampment, then glance to the right to see the hives. (Image credit: Lyrical Games) Interact with the beehive on the right to get the second Anubis Figurine Part. (Image credit: Lyrical Games) The third Anubis Figurine Part can be found after leaving the encampment and crossing the long bridge to a new section of the area. Immediately after opening a gate here by using your Statis Transmutation on a gear, you'll be near the hive. (Image credit: Lyrical Games) Step through the now opened gate and look to your right to see an open door you can enter. (Image credit: Lyrical Games) After passing through the door, you'll find the last set of beehives. At a glance, there only appear to be three total, but there's a fourth sitting slightly hidden against the side of the house. This is the correct beehive. (Image credit: Lyrical Games) Interact with it to receive the final Anubis Figurine Part, which will subsequently complete the quest and get you one step closer to wrapping up all of the game's optional adventures. There are still more awaiting you, though, so keep an eye out as you work through each area. © GamesRadar+. Not to be reproduced without permission.
Comments (0)
Log in to join the discussion
Log InNo comments yet